In 2018 the Cross Section Viewer was updated to use SQLite as the database underlying the software, instead of Microsoft Access. Should you want to interact with a Cross Section Viewer database directly (writing custom SQL queries etc) then you essentially have two options:
SQLite

SQLite is natively a command line application with no user interface. However there are several free user interfaces available that provide rich user interfaces to SQLite databases. SQLite Studio is one such free user interface that possesses an excellent database browser and query functionality.
SQLite Studio does not need to be installed. You simply download the software, extract the zip archive anywhere on your system and then run it.
Microsoft Access
You can use Microsoft Access as the user interface to view and edit data stored in a SQLite database. To do this you have to set up an ODBC file source to the SQLite database and then add linked tables to an Access database that reference the SQLite database. Essentially Access becomes the user interface through which you interact with your data, but the actual data itself are stored in SQLite.
The following instructions describe the steps:
1) Download and install the 64 bit version of the SQLite ODBC Driver.
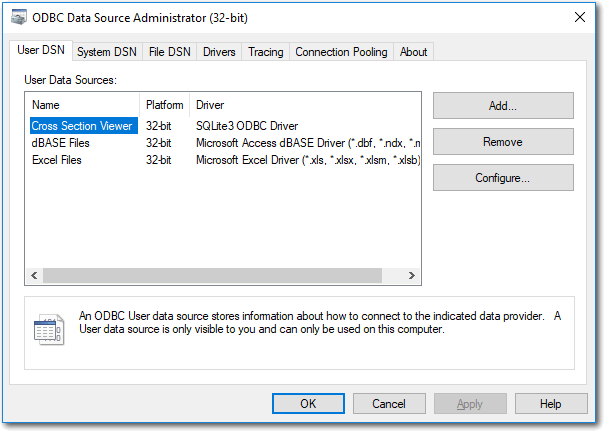
2) Open ODBC. This is a built-in piece of software that comes with all versions of Windows and allows you to connect to virtually any database format. The easiest way to open ODBC is to press the Windows key and then type “odbc”. Windows comes with both a 32 and 64 bit version and you should make sure that you select the 64 bit version of ODBC!
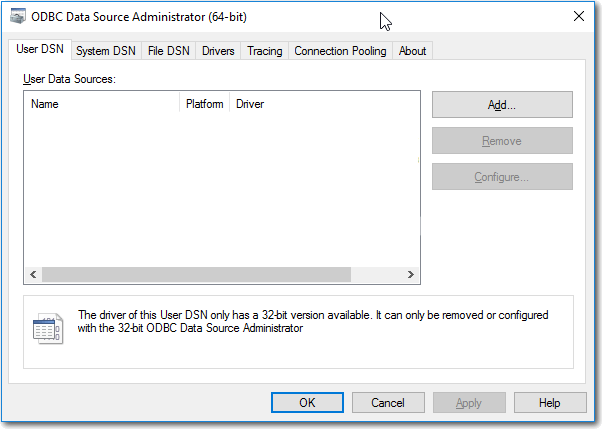
3) Make sure that you are on the “User DSN” tab and then click the Add... button.
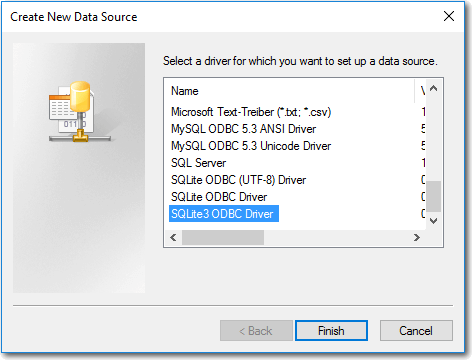
4) Scroll down and choose the SQLite3 ODBC Driver.
5) Provide a meaningful name for this data source, something like “Cross Section Viewer” and then browse to the SQLite database file (*.xsdb). All other settings can be left untouched.
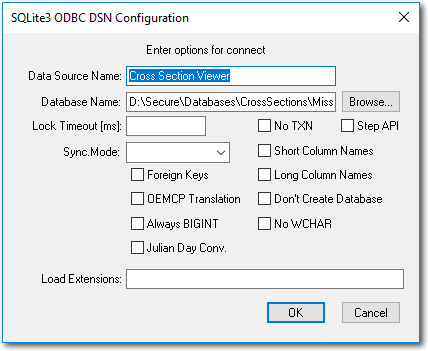
6) Click OK to create the ODBC data source. You will return to the list of datasources with the new one selected.
7) Open Microsoft Access.
8) Create a new, blank Access database. You can save it anywhere but it makes sense to place it in the same folder as the SQLite database.
9) Click the External Data tab.
10) Click the ODBC Database button.
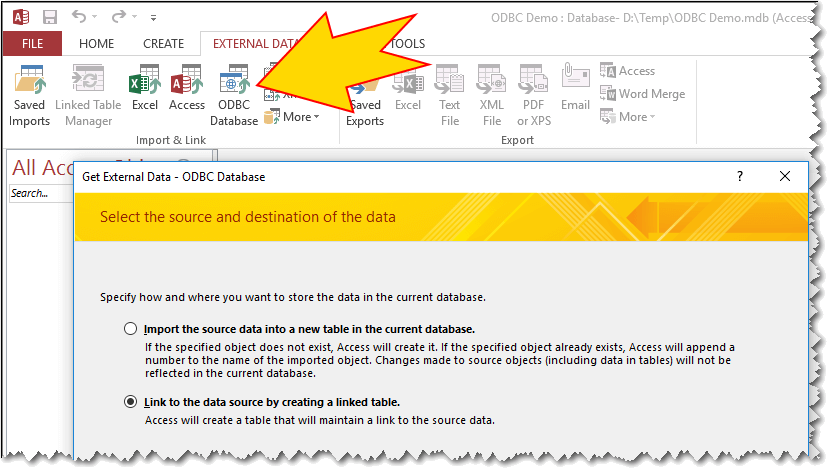
11) Click the Option to Link to the datasource by creating a linked table.
12) In the Select Data Source popup that appears, switch to the Machine Data Source tab and select the ODBC data source that you created in the earlier step. Then click OK.
13) A window will appear that shows all the tables in the Cross Section Viewer SQLite database. Select the ones that you are interested in, hold the Shift key to multi-select, or click the Select All button to link to all the SQLite tables.
14) Click OK.
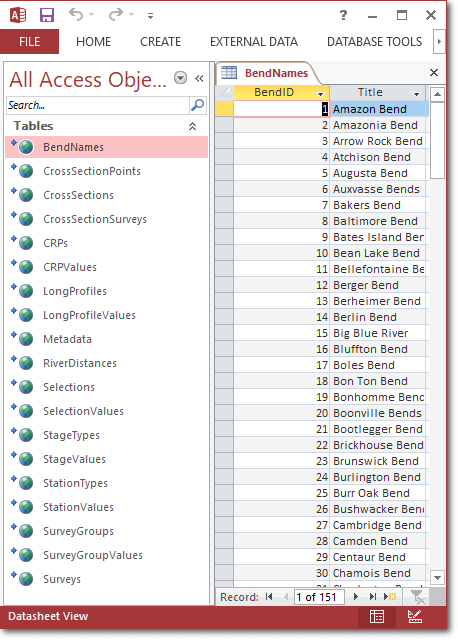
The end result of all these steps is a very small Access database that links to the relevant tables in the SQLite database. You can query, add, edit, delete data in Access and the changes will actually occur back in the SQLite database. You can also use all of Accesses features to filter records, create new queries etc. Note that the Access database is extremely small. It doesn’t contain any actual data, but simply the links back to the SQLite database. (This is relevant if you want to email or share the Access database between colleagues or computers.)