Selections represent a collection of cross section locations and are central to many of the tools within the Cross Section Viewer software. Users create selections to help isolate a set of cross sections on which they want to perform analysis. Some examples of selections are:
- Cross section locations between river mile 10 and 20 that were collected in 2013.
- Cross section locations that have a width less than 1000ft.
- Cross section locations that were surveyed in both 2009 and 2013.
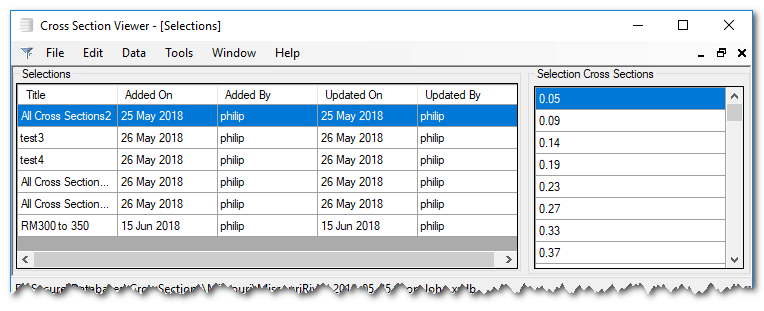
Users can create, edit and delete an unlimited number of selections. They can also merge two selections together to form a new one. The main list of selections is accessed by choosing Selections from the Data main menu item.
New Selection
To create a new selection click Selections from the Data menu on the main form. A grid showing the current selections in the database will appear. Next choose New... from the Edit menu.
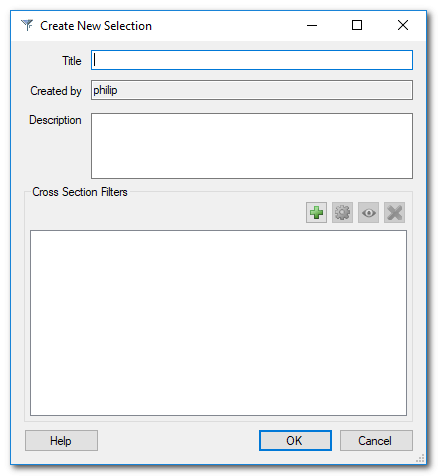
Provide the following information:
- Title: Enter the desired title (eg. 2013, River Miles 499+). The title cannot be blank and it must be unique; no two selections can have the same title.
- Created by: Enter your name or some other information identifying who created the selection.
- Description: Describe the Selection (eg. Generated cross sections of all river miles greater than 499 from 2013 Missouri River Survey)
- Cross Section Filters: Define the Selection criteria by pressing the green ‘plus’ button. See next section.
- Click OK to create and save the selection.
Cross Section Filters
Selections are created by identifying the cross sections that satisfy one or more filters. Each filter describes a single criteria for a single cross section attribute. The available attributes are:
- Survey Width - the distance between the first and last surveyed point for a particular survey.
- Average Point Spacing - the survey width divided by the number of points collected.
- Maximum Point Spacing - the largest horizontal distance between any two points collected for a particular survey.
- Minimum Elevation - the smallest vertical distance between any surveyed point and a user selected reference plane for a particular survey.
- Maximum Elevation - the largest vertical distance between any surveyed point and a user selected reference plane for a particular survey.
- Survey - the cross section must have been collected as part of the selected survey(s).
- River Mile - longitudinal distance of the cross section along the channel. The river mile filter allows the user to further narrow the selection criteria by specifying how cross sections are picked based on their river mile:
- All - all cross sections that meet the river mile distance criteria
- Specified Interval
- Exact Match only cross sections that occur at the specified offset from the value 1 distance criteria.
- Closest Match - pick the closest cross section to each interval (this option is not implemented in the current software).
Each of these filters - with the exception of river miles - operates on a particular survey. In other words, when the software is attempting to determine if a particular cross section meets the cross section filter criteria, the value from a particular survey is used. On the contrary, river miles are simply based on the finite location of the cross section itself and is not influenced by any particular survey.

When choosing an attribute to use as a filter you must also choose one of the filter rules listed below. Note that Outside and Between do not “booked end” the criteria and so do not include values equal to the user input value 1 and value 2.
- Less Than
- Less Than or Equal To
- Greater Than
- Greater Than or Equal To
- Outside
- Between
Users can add, edit and delete filters using the relevant buttons. Multiple cross section filters are combined using AND logic. In other words for a cross section to be included in the selection it must meet ALL the listed filters. OR logic can be implemented by creating, then merging, separate selections.
Once the selection has been created the list of cross sections included in the selection are displayed on the right of the main selection gridview.
Merging Selections
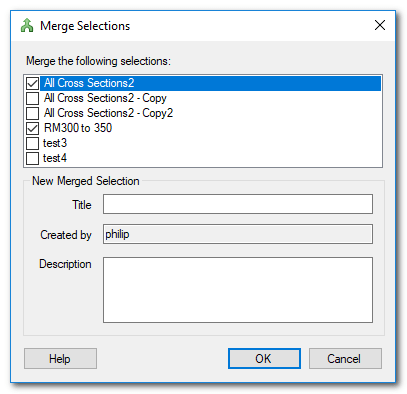
Two existing selections can be merged to generate a new, third, selection. This can be useful if you want to build a complete selection in multiple parts and then combine the parts together once you have confirmed that each filter works the way you intended. It’s also a way to combine attribute filters using OR logic.
Merging selections does not alter the two input selections. The two source selections remain unchanged.
With the selections grid view visible, choose Merge... from the Edit menu on the main menu. Check the boxes beside the two existing selections that you want to merge. Provide a unique title and description for the new selection and then click OK. The resultant selection will be highlighted back in the main selection grid view and the cross sections that it contains listed on the right.
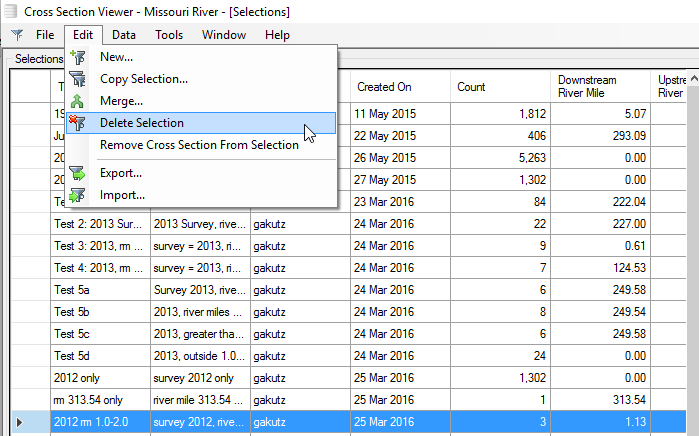
Deleting Selections
To delete Selections, highlight the Selection to be deleted, and then choose Delete from the Edit menu. You will be prompted to confirm that the delete should be performed. Deleting selections is permanent and cannot be undone. Note that deleting a selection does not delete the underlying survey data. It merely deletes the custom list of cross section locations.
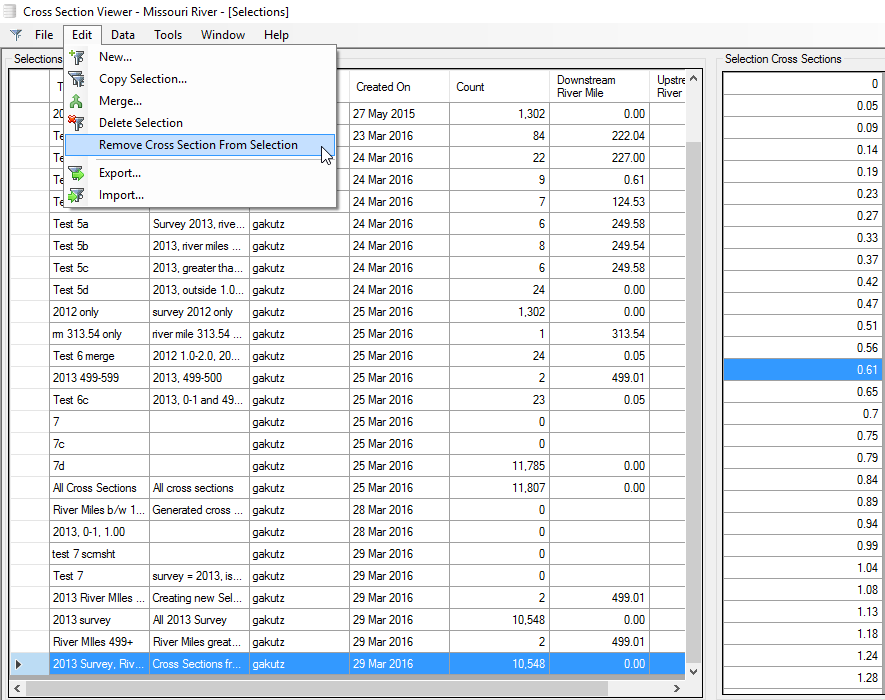
Remove Cross Section from Selection
Cross sections can be removed from a selection. Highlight the selection in the main gridview and then highlight the cross sections to be removed in the list of cross sections on the right (use the SHIFT and CTRL keys to select continuous or discontinuous groups of cross sections respectively). The highlighted cross sections can be removed either from the main Edit menu or simply by pressing the Delete key. A message will appear to confirm that the deletion is intentional.
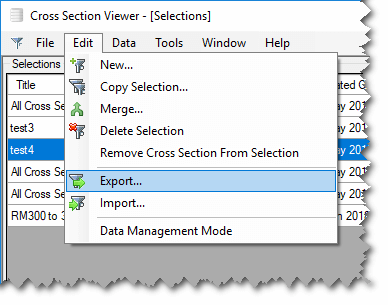
Exporting
An individual selection can be exported by first highlighting the desired selection in the main gridview and then choosing Export from the Edit menu. A list of the cross sections contained in the selection is exported to XML format. This is a text file in a special format that can be exchanged between collaborators and imported into another cross section viewer database (see next section).
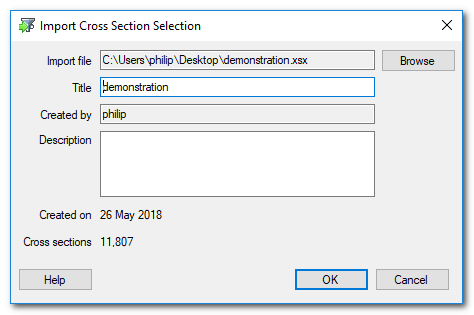
Importing
Selections generated by the export feature (see previous section) can be imported into any cross section viewer database. Choose Import from the Edit menu and then select an existing XSX file previously generated by the software. A screen will appear showing properties for the selection stored in the XSX file: title, who created it, description, the date that it was created and the number of cross sections that it contains. Click OK to proceed and import the selection. Note that the title must be unique and not already exist in the current cross section viewer database.